A malfunctioning tractor starter switch can bring your operations to a standstill, costing you valuable time and money. This comprehensive guide provides step-by-step instructions to troubleshoot and resolve common starter switch issues, getting your tractor back up and running efficiently. For more on John Deere tractor problems, see this helpful resource: John Deere troubleshooting.
Locating Your Tractor's Starter Switch
Before you begin, you need to find the starter switch. Its location varies depending on the tractor model, but it's often found near the steering column or dashboard. Consult your owner's manual for the precise location. Look for a switch with relatively thick wires connected—that's your main suspect. If your manual is unavailable, an online search for "[your tractor model] starter switch location" can be helpful.
Testing the Starter Switch: Is It Faulty?
Before replacing the switch, test it with a multimeter (a device that measures electrical resistance). This simple test helps determine if the switch is the problem or if the issue lies elsewhere. Remember, always disconnect the negative (-) battery terminal before working on any electrical components.
- Disconnect the negative battery terminal. This crucial safety precaution prevents electrical shock and short circuits.
- Locate wires: Identify the wires connected to the starter switch. There are usually at least two.
- Set your multimeter: Set the multimeter to the "ohms" setting.
- Test for continuity: Touch the multimeter probes to the switch terminals. A working switch will show a reading near zero ohms (low resistance) when activated. A faulty switch displays "OL" (overload) or infinity (high resistance). A near-zero ohms reading indicates a good electrical connection, while "OL" or infinity signifies an open circuit—a likely culprit.
If the test reveals a lack of continuity, the switch is likely the problem.
Replacing the Tractor Starter Switch: A Step-by-Step Guide
Replacing a starter switch isn't overly complex, but precision is key. Here's a guided process to ensure a successful replacement. Remember: Always disconnect the negative battery terminal before starting!
Tools Required:
- Screwdrivers (Phillips and flathead)
- Multimeter (to verify the new switch)
- Wrenches (size depends on switch mounting)
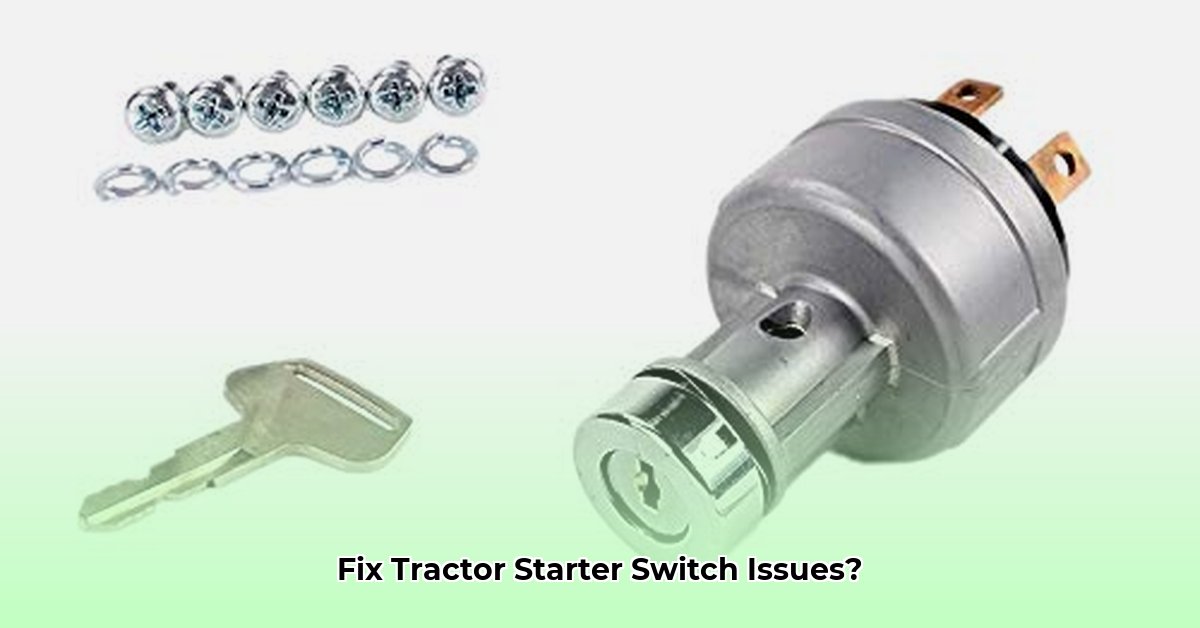
- New starter switch (correct amperage and model compatibility are crucial)
- Wire strippers/crimpers (potentially needed for wire splicing)
Replacement Steps:
- Disconnect the negative battery terminal. Safety first!
- Disconnect wires: Carefully unplug the wires from the old switch, taking photos or detailed notes of the wiring configuration for accurate reassembly.
- Remove the switch: Unscrew or unbolt the switch from its mounting bracket.
- Install the new switch: Mount the new switch in the same location as the old one. Double-check its mounting before tightening.
- Reconnect wires: Connect the wires to the new switch, using your notes or photos as a guide. Ensure each wire connects correctly.
- Reconnect the battery terminal: Reconnect the negative battery terminal.
- Test the switch: Turn the ignition key. A successful replacement should result in the starter engaging.
Troubleshooting Persistent Problems
Even with a new switch, your tractor might still refuse to start. Here are some potential problems:
- No power: Check fuses, battery voltage (ensure it's sufficiently charged), and all wire connections for tightness and proper placement.
- Intermittent starting: Inspect wires and connections for loose connections or corrosion (clean and tighten as needed).
- Still non-functional: If the problem persists after replacing the switch, other components might be faulty. Consult a qualified mechanic.
Selecting the Right Replacement Switch
Choosing the correct replacement switch is critical. Consider these factors:
- Amperage rating: The switch must handle the current draw of the starter motor. A mismatch can cause overheating or even fire. Consult the old switch or your tractor's documentation.
- Compatibility: Ensure the new switch is compatible with your tractor's model, year, and engine.
- Brand reputation: Opt for reputable brands for enhanced reliability and longevity.
Preventive Maintenance: Extending Switch Lifespan
Preventative maintenance significantly extends the life of your starter switch and minimizes downtime.
- Regular inspections: Inspect connections for corrosion, loose wires, or damage. Clean and tighten as necessary.
- Avoid overloads: Don't run excessive accessories simultaneously, as this places undue strain on the electrical system.
- Environmental protection: Shield your tractor from extreme weather to minimize moisture damage.
This guide provides actionable steps to resolve common tractor starter switch issues. However, if problems persist, seek assistance from a knowledgeable mechanic. Remember, safety is paramount!